by Meredith
17. January 2016 11:35
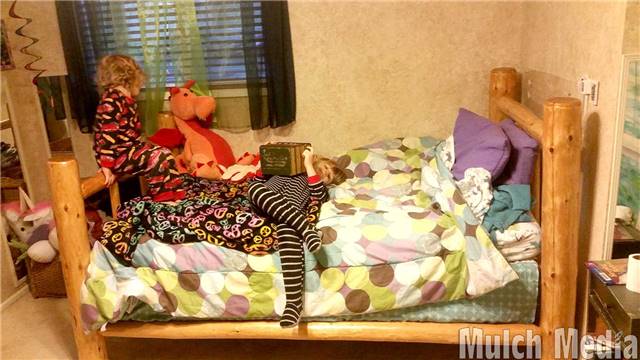
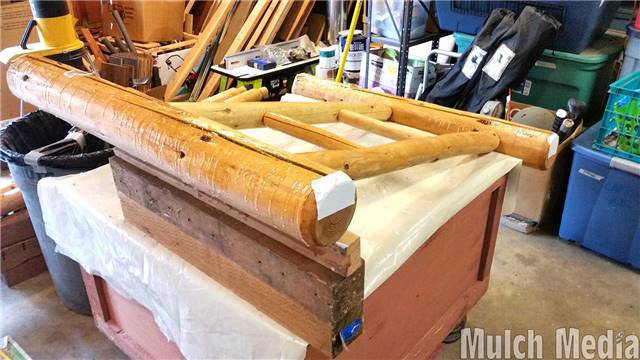
Maddie's bed is all set up! It took mallets and a little extra sanding on a few of the pieces to make them go back together but they eventually all fit. Got it done yesterday so she could sleep on it last night.
by Meredith
13. January 2016 16:30
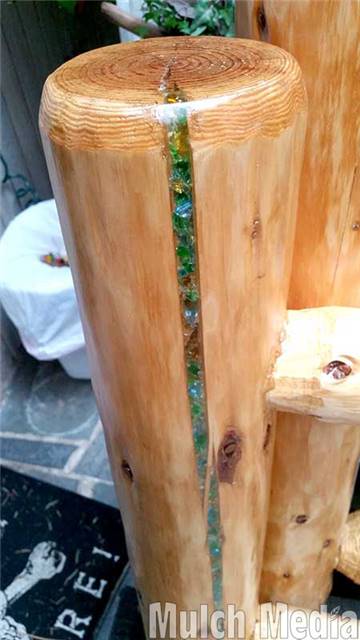 Second coat is done and seems to have cured ok. No cloudiness and everything sparkles. We have success! I've moved the pieces into the a part of the house to air out in a warmer environment. We plan to start assembling the bed Friday and Saturday.
I love these smooth rounded tops!
by Meredith
10. January 2016 15:28
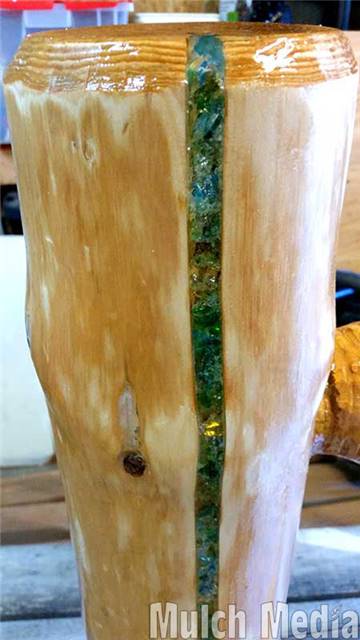 First coat polyurethane. Further research on the amine blush made me believe that my initial sanding should have removed any blush that was on there. Any cloudiness that I saw after that is minor scratches that a polyurethane should fill in.
by Meredith
11. November 2015 14:27
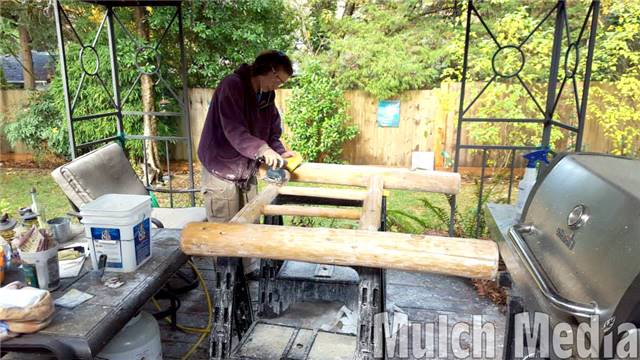
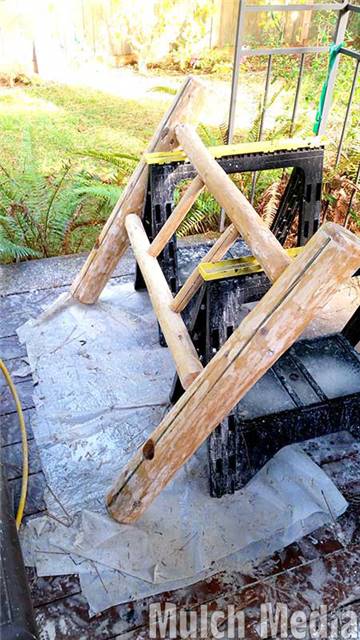
Hunter recorded proof that I am working on the bed frame. It is a wet, cold, messy and miserable job. I wear ear protection so I can listen to podcasts while I work and after a couple of hours my ears are sore and my hands are numb.
I'm using an electric palm sander to wet sand the large areas of epoxy that spilled over the side. Sometimes I can use a box knife to (carefully!) pry up the hardened drips but a lot of the ridges need to be sanded down. 80 to 100 grit works fairly well for the first pass and then I use a 180 to 220 to lightly go over the pine and even out the finish.
Those poor sawhorses will never be the same after this.
by Meredith
3. November 2015 13:13
 Wet sanding the excess epoxy is making a HUGE mess. My frustration with trying to do perfect pours (and giving up) has led me to this path and down I am paying for it. It is very time consuming to carefully remove the epoxy and not the pine wood. I've got probably 4 more hours of sanding just on the foot board. Bonus of all of it is that I decided to take off all the old finish while I was at it so it will have a consistent color with the epoxy and my new varnish.
by Meredith
16. October 2015 13:09
Epoxy has had plenty of time to cure so I have started wet sanding. I am discovering amine blush is a bitch. Wet sanding should be removing the cloudy haze (amine blush) but it hasn't been. It might be my process because I am using an electric sander and only wetting the wood and not the sandpaper. It works great for removing the excess epoxy but is probably rubbing the blush all over the wood.
I'm going to try wet sanding by hand first and really try to wash away the surface oil. Then use the power sander. I have to make sure all the amine blush is removed before I can apply a varnish on top. Plus I don't want it cloudy. Areas where the resin is clear look awesome!
by Meredith
4. September 2015 18:05
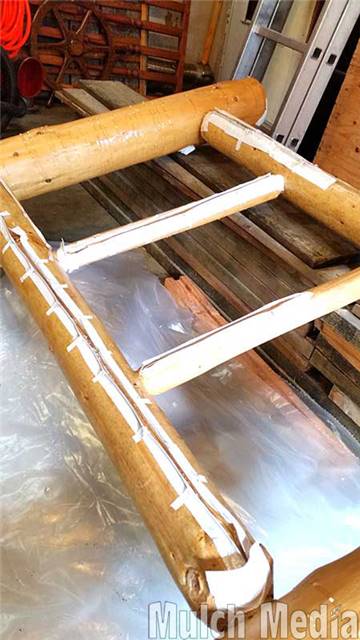
I have started creating some duct tape dams to help in areas where I just can't get the angle right. Some of these cracks spiral a bit. Also to ensure I don't waste the epoxy I mix up, I make sure I have plenty of cracks ready at that same angle and have some back up pieces waiting in the wings.
by Meredith
24. August 2015 17:59
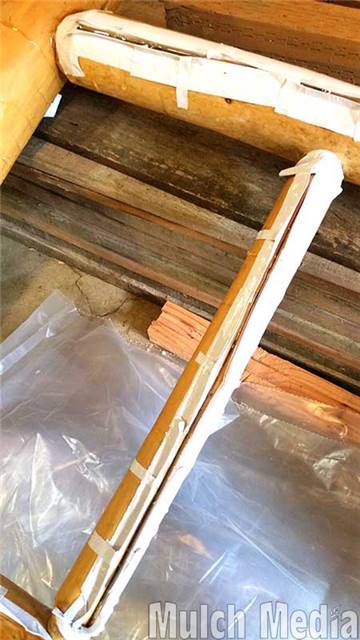
The pours for this project are starting to get complicated. If I don't make the top level the resin will dribble out before it sets. Ends are taped up but I'm also using blocks to tilt and angle the frame for a level pour.
by Meredith
13. August 2015 16:51
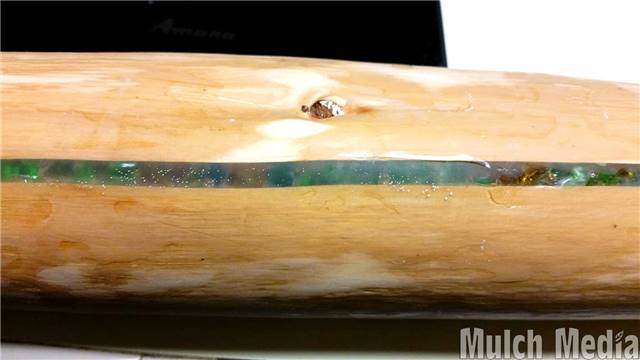
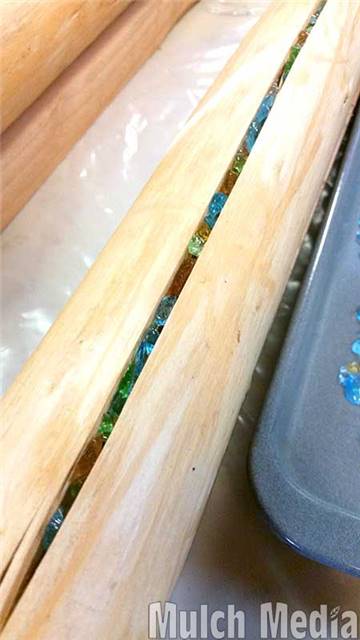
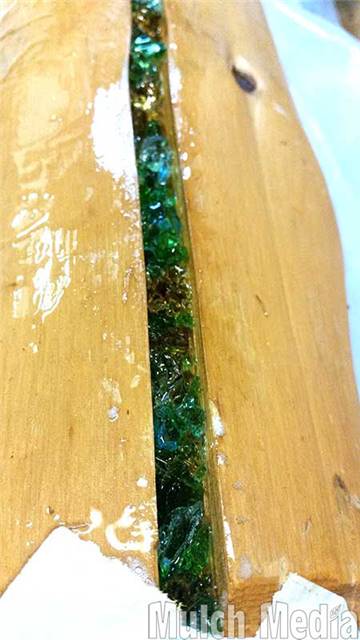 The shininess makes it really hard to photograph the colors of the glass. I think this is the best photo so far. This is after one pour of resin so the cavity isn't filled up yet. Actually, I think there might be two pours in this one (looking at the mess on the outside), but it is a really deep crack so it will take several more ounces of resin to fill it up.
There are some bubbles that I don’t generally worry about too much until the resin gets closer to the surface. At that point, I make a few passes with a heat gun to pop them.
by Meredith
9. August 2015 15:13
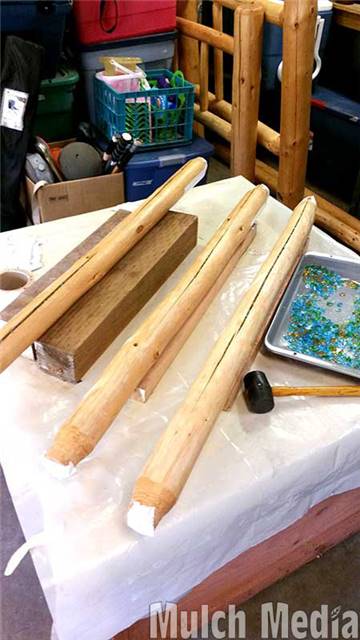
After clearing out the cracks of extra wood fibers, I have started testing the filling process on pieces of the bed that won't be seen normally. These are the logs that the mattress will sit on.
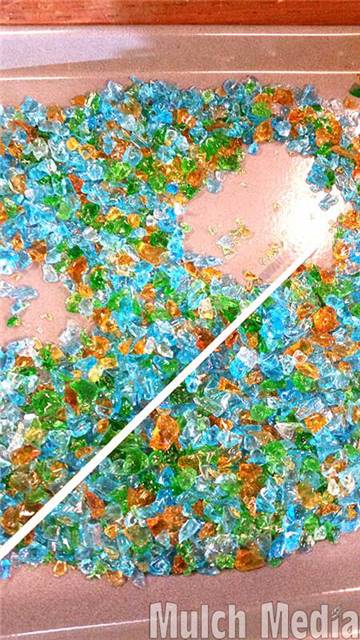
1) I have discovered that the cracks are quite narrow so I actually need much much smaller pieces of glass than what I have here. I bought bags of tumbled glass off of the internet (it's roughly tumbled) and there is a variety to the sizes, but in some cases I need slivers to fit in these cracks. I ended up taking a hammer to some of it to break it up into smaller pieces.
2) Another key learning, placing all those little pieces into the cracks took way longer than I thought it would. But the results sure are pretty!
3) First pour has taught me that pouring without making a mess will be a new skill I have yet to master. Also, the deep cracks suck up a lot of resin. I'm glad I chose to fill with glass.

 Subscribe