by Meredith
10. October 2020 21:51
by Meredith
8. July 2020 12:45
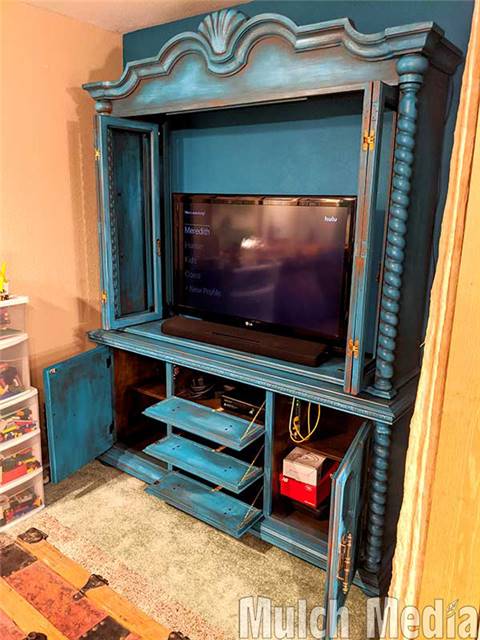
I love it! I still need to paint the glass panes with the antique mirror stuff. But we have it set up and are reconnecting the TV now. Not all of the game console stuff is hooked up yet but the internet works and the TV is connected so we can watch movies again. I was going to paint the hardware but couldn't figure out the right color so I decided to just put it back on and decide later. Turns out I like the color as is.
by Meredith
4. July 2020 22:42
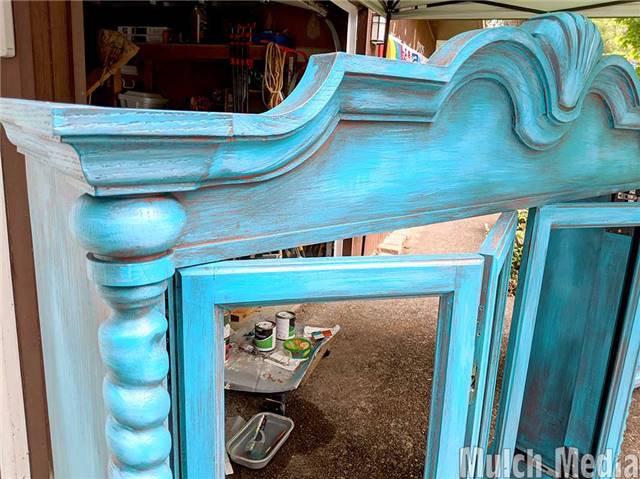
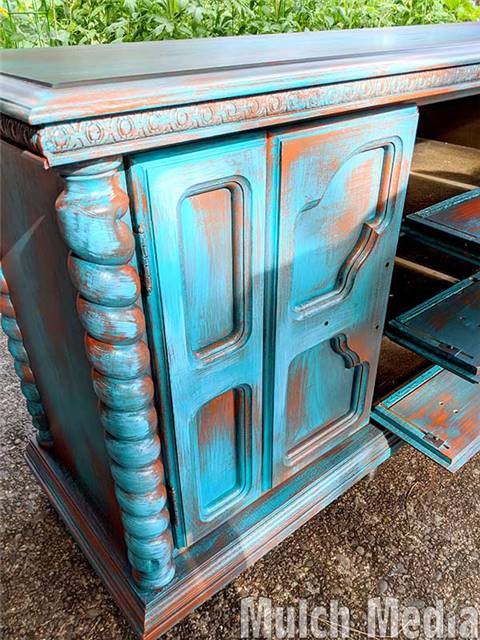
Further layers are all about blending. I'm going back and forth with adding a bit more of the orange where I want it more prominent and then dry brushing the blue over the top to tone it down. I think I'm going in the right direction. It has been taking a long time. The final layer of paint is a lightened version of the blue that I was adding as highlights to all of the raised areas of the woodwork.
by Meredith
3. July 2020 21:37
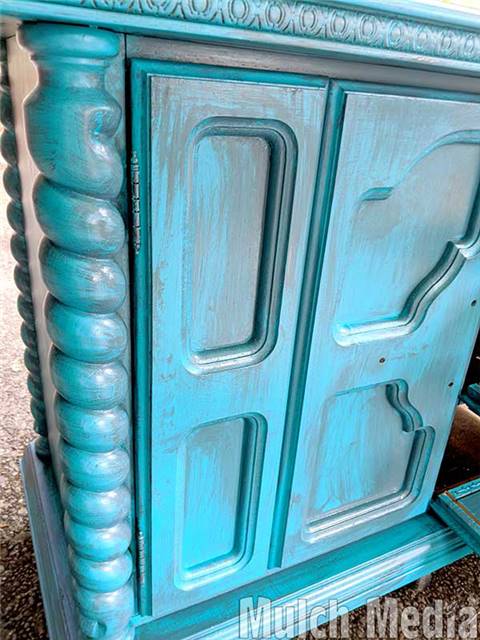
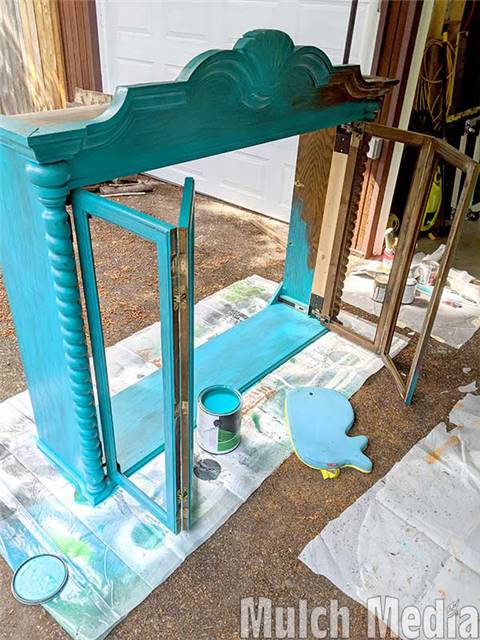
Layer #2 is a gray color that I made by mixing the blue with the rusty orange. I applied the color into areas that I thought would look best shadowed. The layers are fairly thin and the temperature warm enough that everything dried quickly so more layers could be applied. A 3rd layer was then to dry brush the orange. This is to create the worn off old paint effect.
by Meredith
2. July 2020 21:31
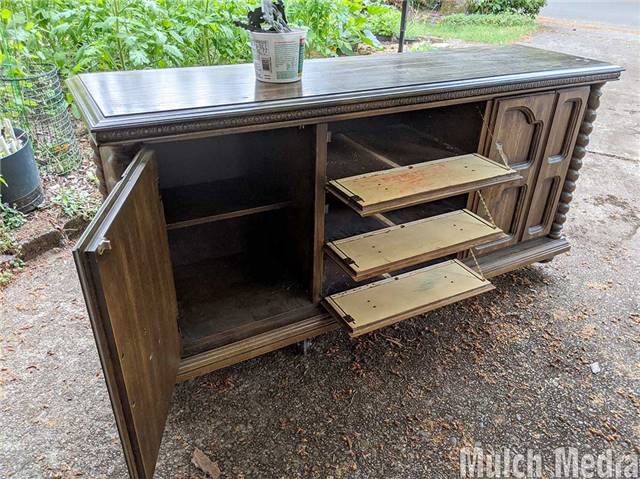
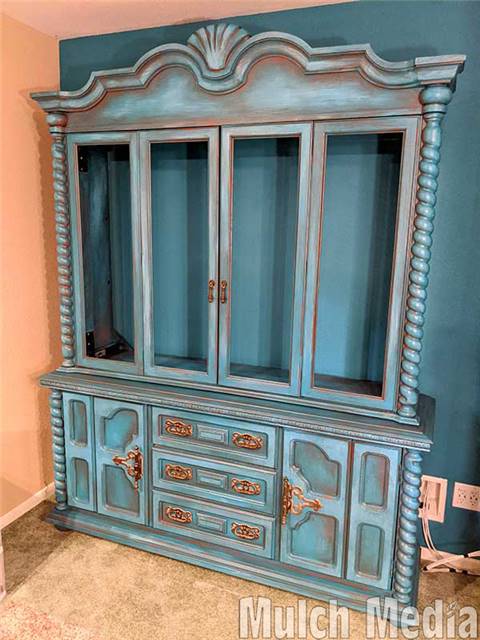
This old china hutch was a free piece of furniture we had acquired about 10 years ago. It is a solid piece of furniture that came as a set with our dining room table (also free) and for years just held some collectibles and office supplies. When the office space got a makeover we decided to turn this hutch into an entertainment center. I will have to make a separate post with the construction modifications, but Hunter deconstructed the top so that it would open completely and the doors would fold in and tuck away. Hunter also deconstructed the drawers so that they hinge and drop open for access to devices. The back is open so the TV will eventually be mounted to the wall.
 My job is to paint the project. I sanded and cleaned all the surfaces and then put a base coat of a primer/top coat combo of blue.
by Meredith
24. November 2019 09:15
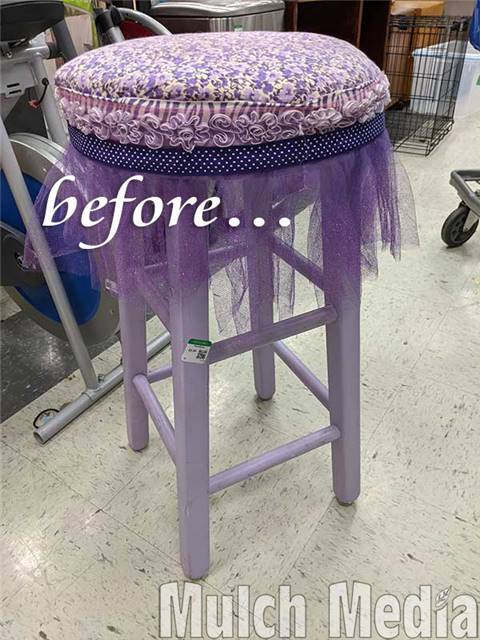 We built a little desk for Arianna and it needed a stool for her to sit on. I found something sturdy at Goodwill that would work with a little TLC. A little disassembly here, some paint there, and we have a winner!
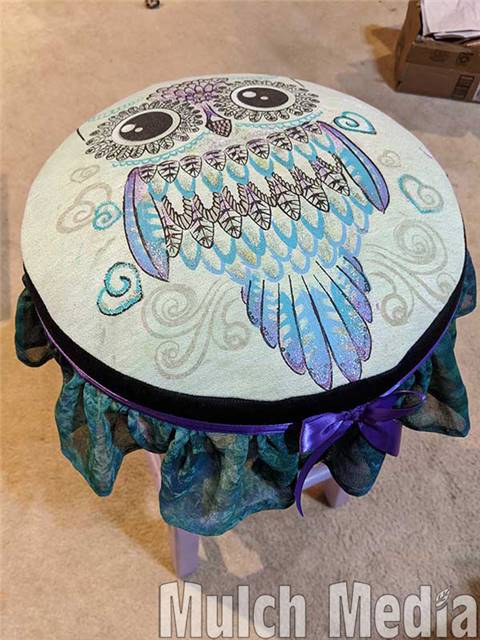
There was no way she could fit in this owl shirt any more. It was so well “loved” with paint and glitter on it from preschool that even if she would have let me donate it, it wouldn’t be accepted. Our solution was to turn it into a throw pillow. The stool ended up being the perfect project for the owl shirt. I just added more paint and glitter to make the preschool additions look more intentional. I then sewed it into a pillow with a bit of padding and trimmed with some scraps of coordinating fabric I had laying around. (She really liked the ruffle that was originally on the stool.)
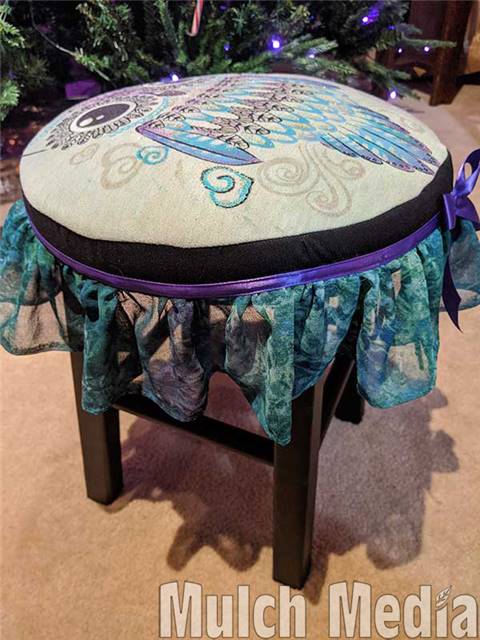
Hunter cut the legs down to the right height (and repurposed the feet into a second footstool for the craft room!). I painted the whole thing matte black and I think it turned out super cute.
by Meredith
17. January 2016 11:35
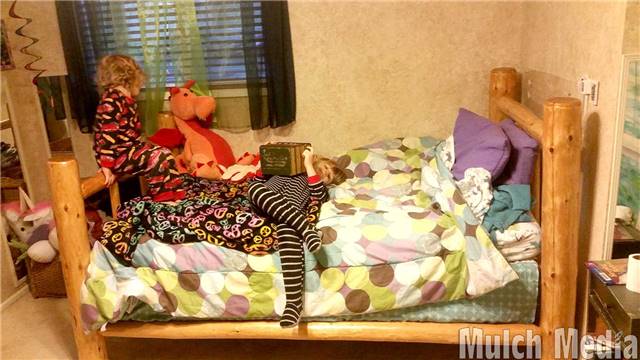
Maddie's bed is all set up! It took mallets and a little extra sanding on a few of the pieces to make them go back together but they eventually all fit. Got it done yesterday so she could sleep on it last night.
by Meredith
13. January 2016 16:30
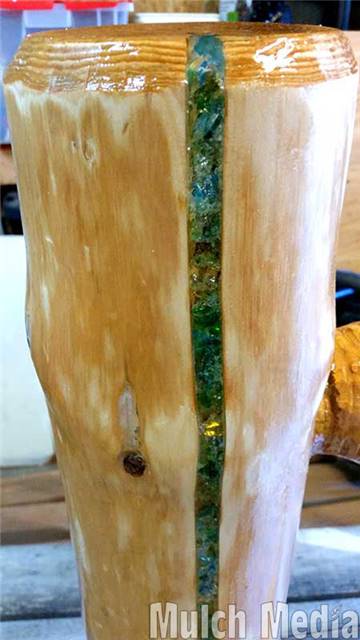
 Second coat is done and seems to have cured ok. No cloudiness and everything sparkles. We have success! I've moved the pieces into the a part of the house to air out in a warmer environment. We plan to start assembling the bed Friday and Saturday.
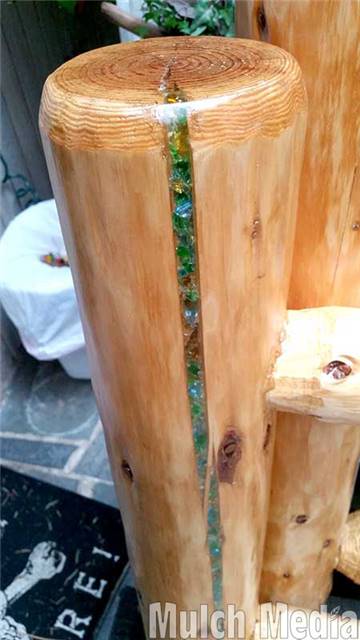
I love these smooth rounded tops!
by Meredith
10. January 2016 15:28
 First coat polyurethane. Further research on the amine blush made me believe that my initial sanding should have removed any blush that was on there. Any cloudiness that I saw after that is minor scratches that a polyurethane should fill in.
by Meredith
11. November 2015 14:27
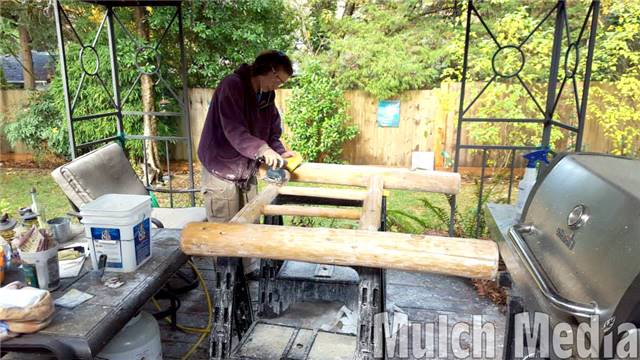
Hunter recorded proof that I am working on the bed frame. It is a wet, cold, messy and miserable job. I wear ear protection so I can listen to podcasts while I work and after a couple of hours my ears are sore and my hands are numb.
I'm using an electric palm sander to wet sand the large areas of epoxy that spilled over the side. Sometimes I can use a box knife to (carefully!) pry up the hardened drips but a lot of the ridges need to be sanded down. 80 to 100 grit works fairly well for the first pass and then I use a 180 to 220 to lightly go over the pine and even out the finish.
Those poor sawhorses will never be the same after this.
 Subscribe