by Meredith
24. August 2015 17:59
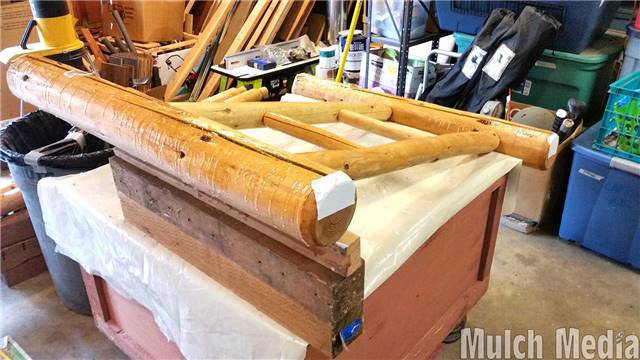
The pours for this project are starting to get complicated. If I don't make the top level the resin will dribble out before it sets. Ends are taped up but I'm also using blocks to tilt and angle the frame for a level pour.
by Meredith
13. August 2015 16:51
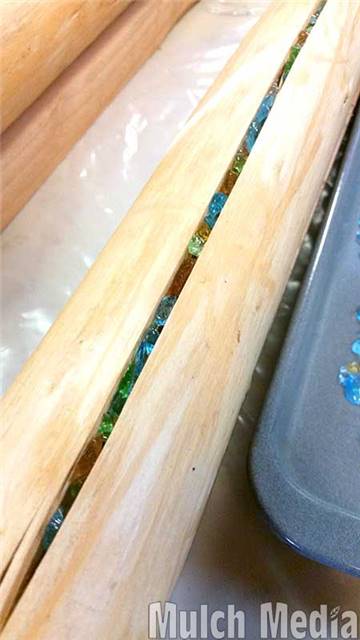
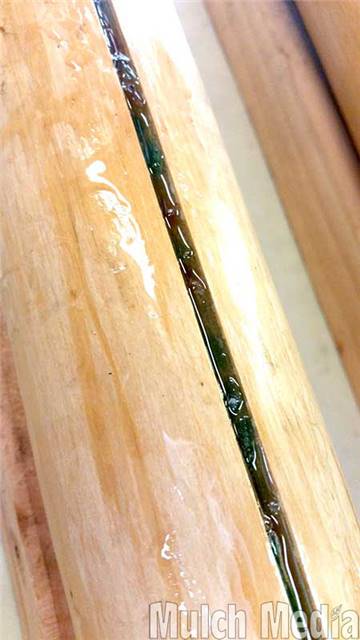
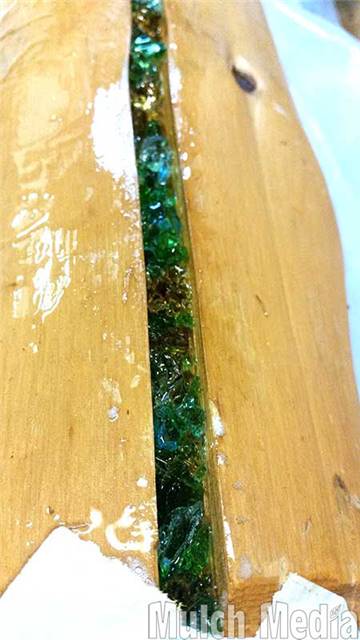 The shininess makes it really hard to photograph the colors of the glass. I think this is the best photo so far. This is after one pour of resin so the cavity isn't filled up yet. Actually, I think there might be two pours in this one (looking at the mess on the outside), but it is a really deep crack so it will take several more ounces of resin to fill it up.
There are some bubbles that I don’t generally worry about too much until the resin gets closer to the surface. At that point, I make a few passes with a heat gun to pop them.
by Meredith
9. August 2015 15:13
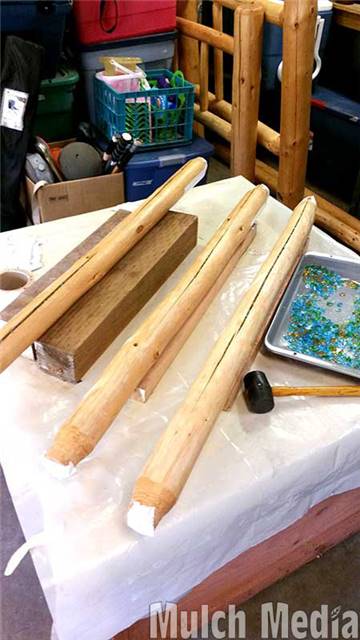
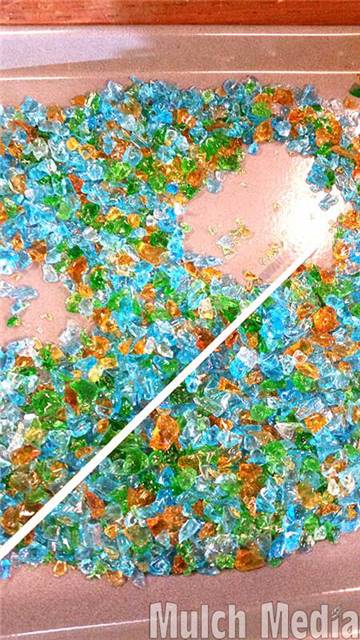
After clearing out the cracks of extra wood fibers, I have started testing the filling process on pieces of the bed that won't be seen normally. These are the logs that the mattress will sit on.
1) I have discovered that the cracks are quite narrow so I actually need much much smaller pieces of glass than what I have here. I bought bags of tumbled glass off of the internet (it's roughly tumbled) and there is a variety to the sizes, but in some cases I need slivers to fit in these cracks. I ended up taking a hammer to some of it to break it up into smaller pieces.
2) Another key learning, placing all those little pieces into the cracks took way longer than I thought it would. But the results sure are pretty!
3) First pour has taught me that pouring without making a mess will be a new skill I have yet to master. Also, the deep cracks suck up a lot of resin. I'm glad I chose to fill with glass.
by Meredith
7. August 2015 14:07
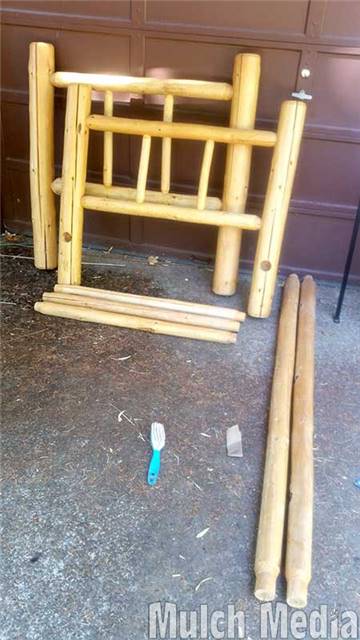
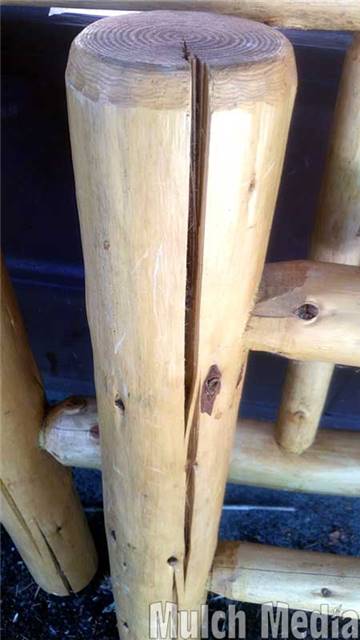
Hunter's dad made a pine log bed for Aaron (Hunter's little brother). Aaron passed away several years ago and we want to fix this bed up and pass down through our girls. There are several large cracks, and lots of small ones, running along the poles. I plan to fill all the cracks with a clear epoxy. I've also bought some tumbled glass to fill up the larger cracks and then pour clear epoxy to seal it up. It should end up looking very pretty if I don't botch up the whole project. The whole thing got a bath and then it’s time to get started.