by Meredith
10. October 2020 21:51
by Meredith
8. July 2020 12:45
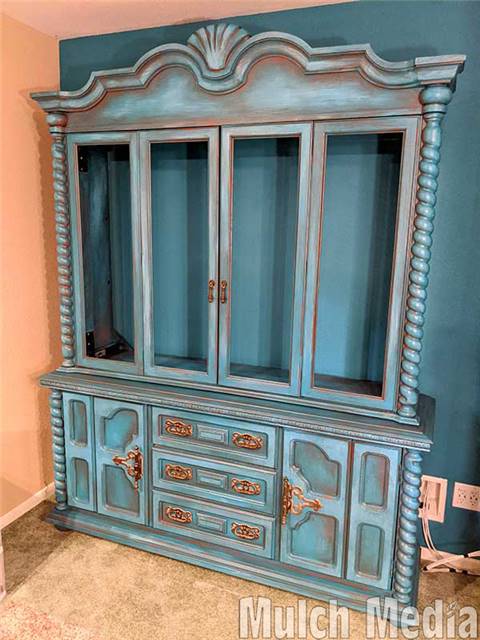
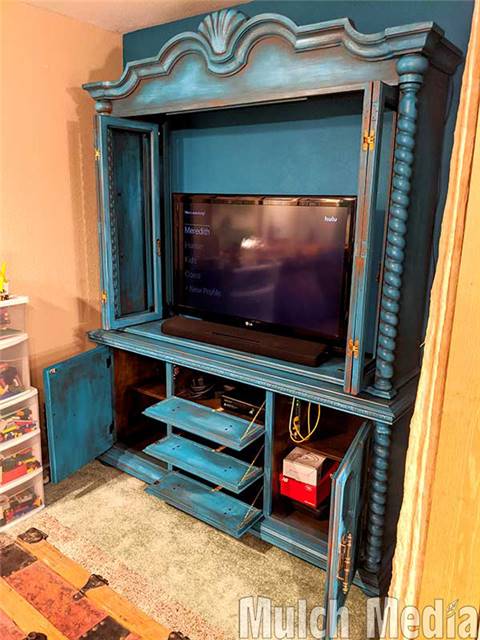
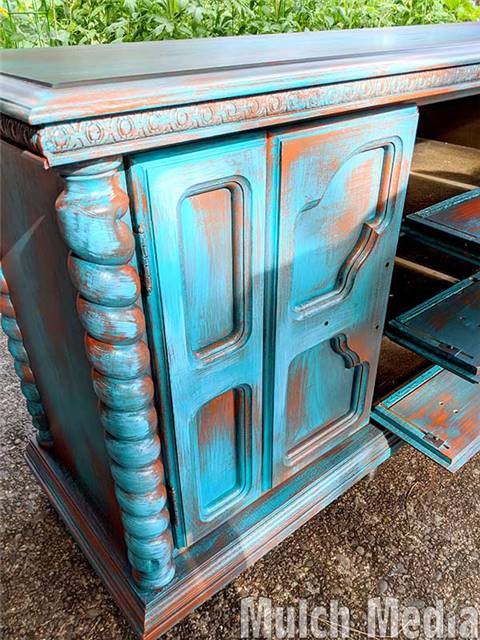
I love it! I still need to paint the glass panes with the antique mirror stuff. But we have it set up and are reconnecting the TV now. Not all of the game console stuff is hooked up yet but the internet works and the TV is connected so we can watch movies again. I was going to paint the hardware but couldn't figure out the right color so I decided to just put it back on and decide later. Turns out I like the color as is.
by Meredith
4. July 2020 22:42
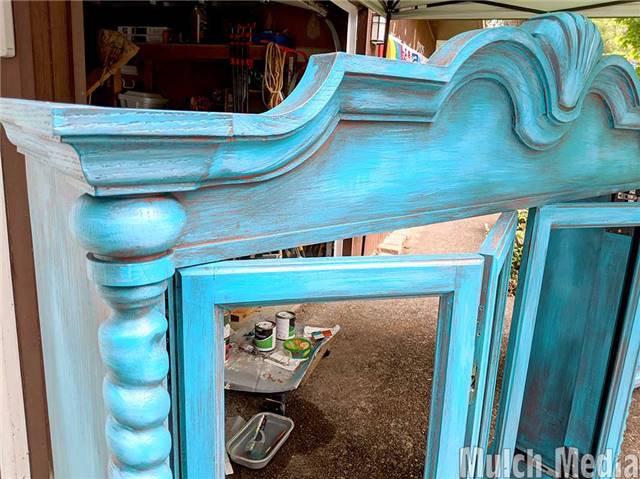
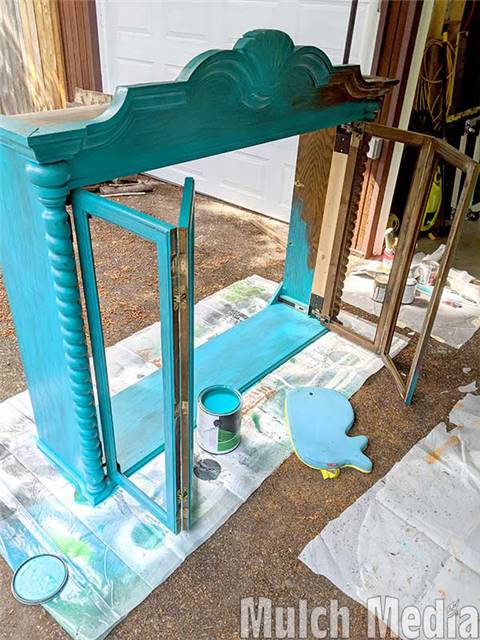
Further layers are all about blending. I'm going back and forth with adding a bit more of the orange where I want it more prominent and then dry brushing the blue over the top to tone it down. I think I'm going in the right direction. It has been taking a long time. The final layer of paint is a lightened version of the blue that I was adding as highlights to all of the raised areas of the woodwork.
by Meredith
3. July 2020 21:37
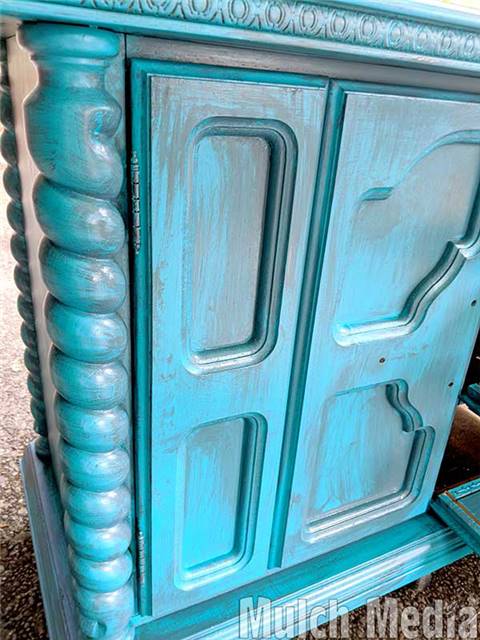
Layer #2 is a gray color that I made by mixing the blue with the rusty orange. I applied the color into areas that I thought would look best shadowed. The layers are fairly thin and the temperature warm enough that everything dried quickly so more layers could be applied. A 3rd layer was then to dry brush the orange. This is to create the worn off old paint effect.
by Meredith
2. July 2020 21:31
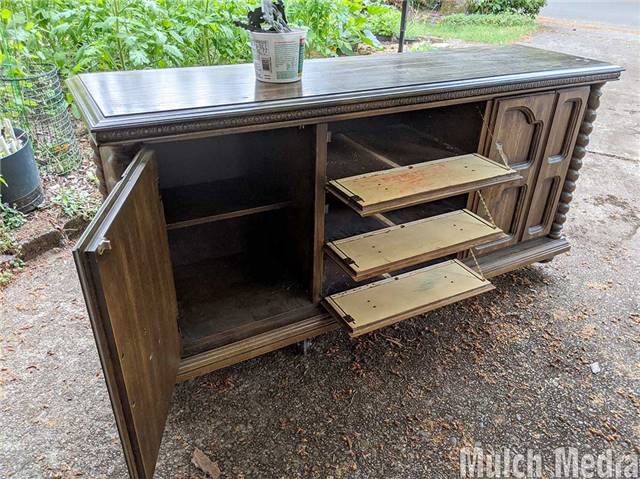
This old china hutch was a free piece of furniture we had acquired about 10 years ago. It is a solid piece of furniture that came as a set with our dining room table (also free) and for years just held some collectibles and office supplies. When the office space got a makeover we decided to turn this hutch into an entertainment center. I will have to make a separate post with the construction modifications, but Hunter deconstructed the top so that it would open completely and the doors would fold in and tuck away. Hunter also deconstructed the drawers so that they hinge and drop open for access to devices. The back is open so the TV will eventually be mounted to the wall.
 My job is to paint the project. I sanded and cleaned all the surfaces and then put a base coat of a primer/top coat combo of blue.
by Meredith
16. February 2020 19:01
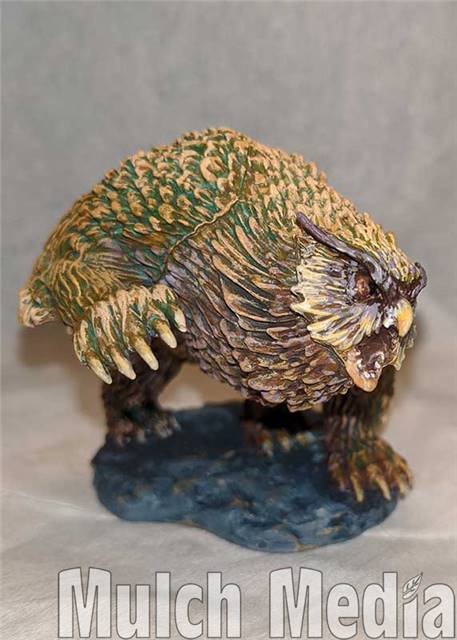 We went to a couple's "paint nite" for mini painting at the local game store (Cheers, Rainy Day Games!). Today's mini was an owlbear. Next month they are doing a dragon.
by Meredith
8. February 2020 15:31
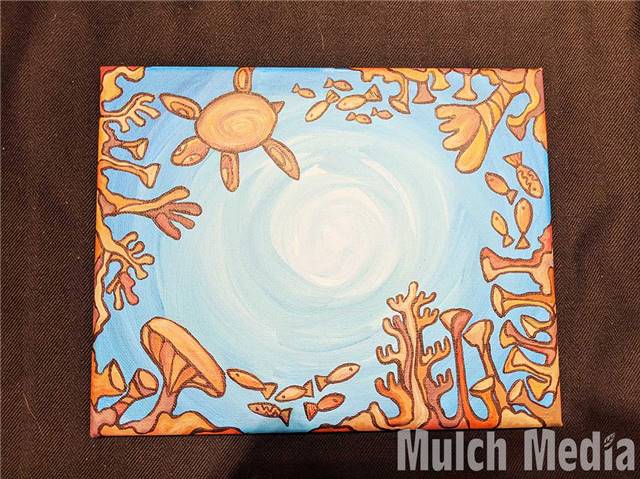 Not a group painting or from an event (though inspired by one of those paintings). I made this little painting as a collaboration with Arianna Cook and her sketchbook artwork. She let me copy some sea life sketches from her journal and arranged them into this painting. I'm not sure if it is done or if I'm going to add some lines to the blue.
by Meredith
12. December 2019 05:46
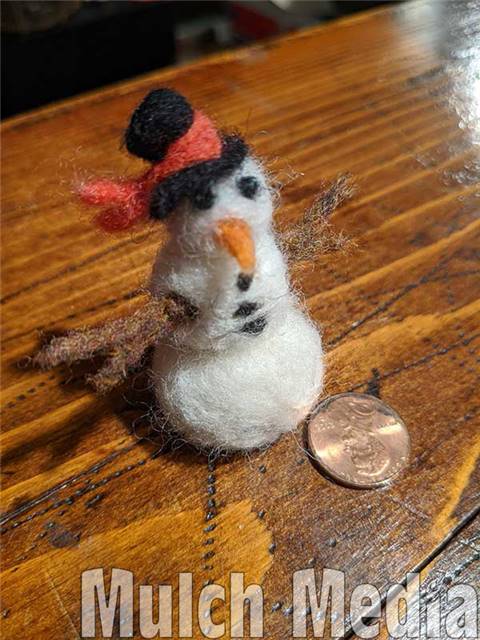
I made a little felted snowman for Ari's Christmas village that she's building in her room (penny for scale).
by Meredith
11. December 2019 17:00
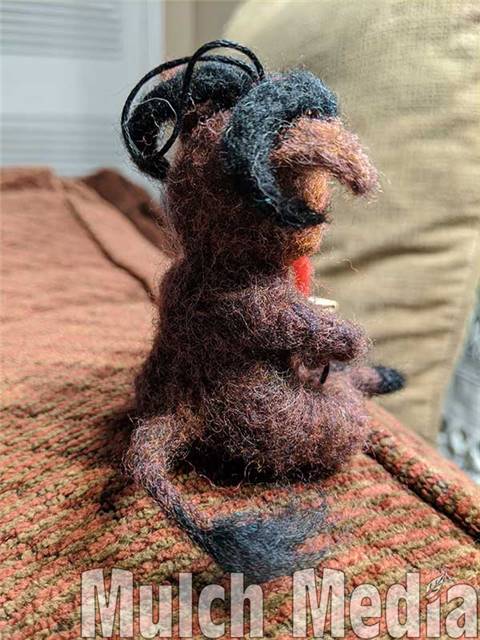
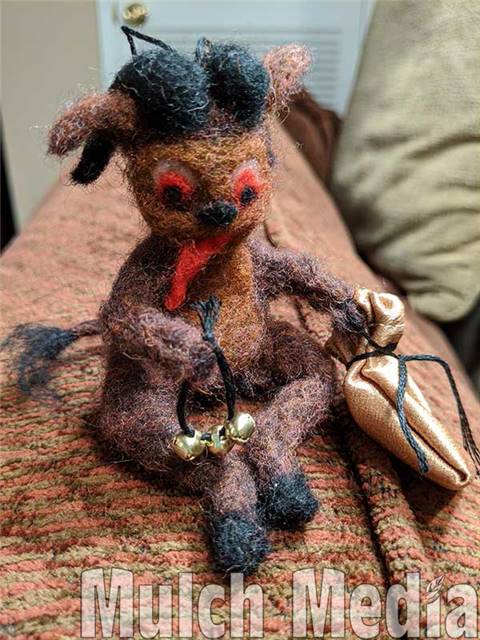
A figure from folklore and all the best holiday cards, Baby Krampus is half-goat, half-demon and full baby cuteness. I ended up making two of this guy, one for a gift exchange and one to keep for myself (because I fell in love with him).
by Meredith
7. December 2019 17:48
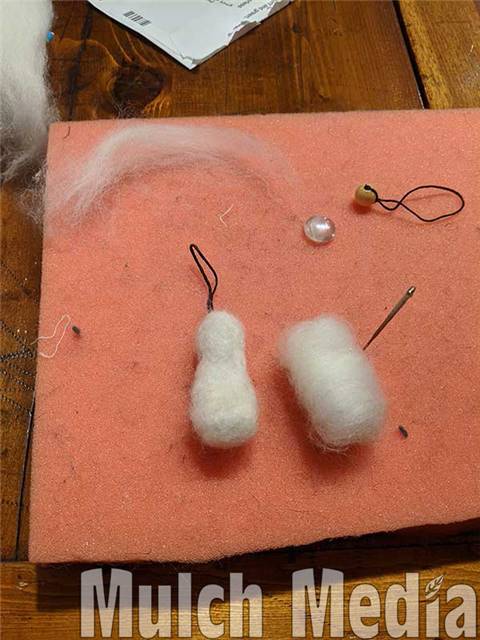
Not a step-by-step photo, but here are the key pieces I've used for starting the felted holiday ornaments.
Bead with String - To make a secure string, tie some embroidery floss around a large bead. Then, wrap the wool around the bead to start your felted object.
Glass Bead - I sometimes add a glass bead to the bottom of the felted object to create a little weight there if the figure needs to stand up.
Felt Roving - Layers of wool roving get wrapped around into a general shape and then compacted with the felting needle.
 Subscribe